Creating Level Configuration
Mad Level Manager is extending Unity 3D with Level Configurator. You’ll need to configure levels if you want to define workflow for your game. Probably you want to use one scene for multiple levels and pass arguments to each level. This argument may be information about what data file should be loaded or something similar. In the end you’ll probably need to define level loading order and this complicates everything. It’s very difficult to do this only with built-in Unity functions, but it’s super easy to accomplish with Level Configurator.
Creating new configuration
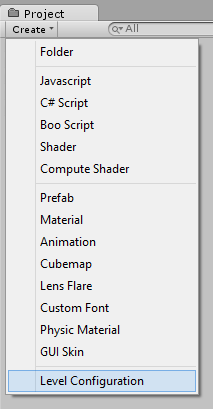
To create new level configuration just click on Create button in Project window and then choose Level Configuration.
The file called MadLevelConfiguration will appear. Select it if it’s not, and then look at the Inspector window. It should now look like this:
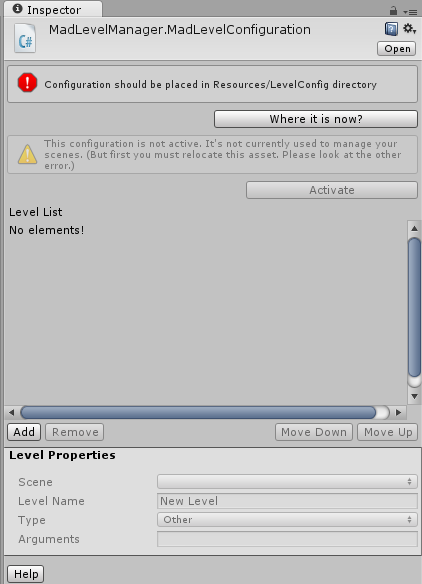
As you can see there are two problems with newly created configuration:
- The configuration is not active yet. In most cases newly created configurations will stay inactive to not mess with your current build configuration. We will activate it when everything will be set in order.
- The configuration lies is the wrong directory. This is very important to move it to Resources/LevelConfig directory and eventually you should create missing subdirectories. It’s not important where you’ll create them. You can nest Resources directory into any other to keep things clean.
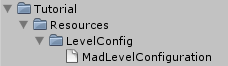
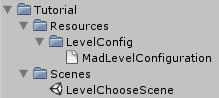
Now let’s fix the second problem and move the configuration to right place. Let it be Tutorial/Resources/LevelConfig (you have to create subdirectories by yourself).
Managing scenes
Level configuration is nothing without scenes. Let’s create new scene (Ctrl+N) and save it as Tutorial/Scenes/LevelChooseScene.unity so our project tree will look like this:
Now let’s get back to MadLevelConfiguration and in the Inspector view, under empty Level List locate and click the Add button:
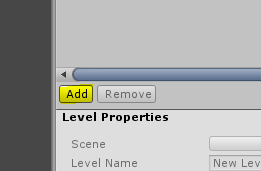
New element will appear on the list:
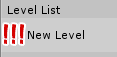
It’s called New Level and it’s marked with 3 exclamation marks. This means that configuration of this element is wrong or incomplete. You will also see this kind of warning below:

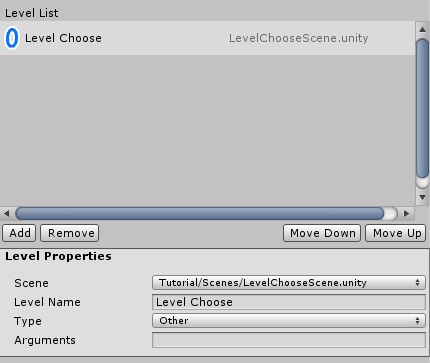
Click on its name to highlight it, and Level Properties below will become enabled:
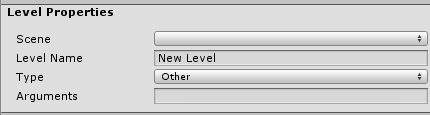
There 3 things that must be set. The Arguments field is optional:
- Scene – select here our newly created LevelChooseScene
- Level Name – This is level name that you’ll use to identify and eventually load level by this name. Let’s change it to Level Choose.
- Type – Type of level it can be:
- Level – Defines game level. Will appear on level choose screen.
- Extra – Level that is hidden between two other levels.
- Other – Other scene type. Let’s stay with this setting.
- Arguments – Optional arguments passed for each level.
And it should look like this:
Game Levels
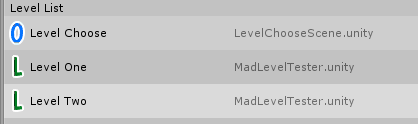
Let’s add two more levels to test them later. Use the Add button as before but create levels with type Level. Let’s name them Level One and Level Two and connect MadLevelTester scene located in Mad Level Manager/Examples/Scenes:
Activate!
Now it’s time to make our configuration active. Click on the Activate button and it’s done!
Have you noticed that something new appeared? It’s the error at the bottom of inspector view:

It simply means that this project configuration is out of sync with level configuration. You can simply fix it by clicking Synchronize Now button. Do it now!
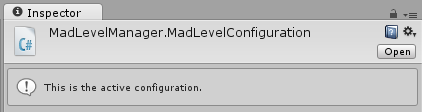
You’ll see information about active configuration at the top of Inspector view: