Welcome to first Mad Level Manager tutorial. It will explain to you how to how to create your first level select screen with most basic configuration. This is only small part of what Mad Level Manager can do. If you want to know more, please read the overview or refer to other pages in this documentation.
Creating Level Configuration
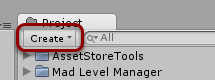
First thing what you need to do is to create Level Configuration. This is the setup and work flow of your game levels. To do so click on the Create button in your Project view…
…and then select Level Configuration option.
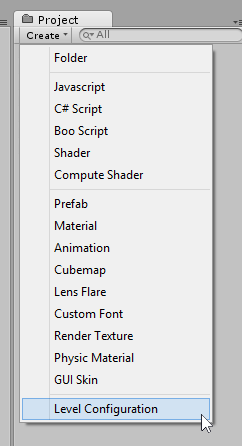
The New Configuration asset will be created.

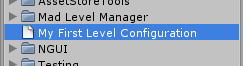
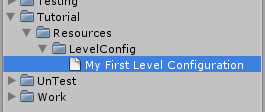
Let’s rename it to “My First Level Configuration”.
Now look at your Inspector view. You should see that there’s one important error that should be immediately fixed.
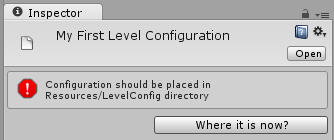
This message means that Level Configuration asset that we’ve created just now must be located under specified directory. That’s because Unity3D treats differently everything that lies in Resources directory (no matter where it is).
This is a tutorial, so let’s create directory structure to look like this:
Creating Level Select Scene
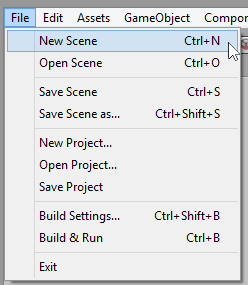
Before continuing with your levels configuration we need to create and save scene that will be used to select what next level we want to play. Let’s just create a new scene:
And save it without any modifications…
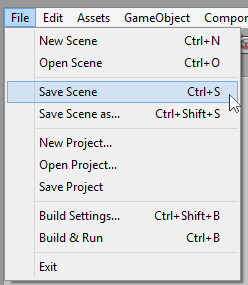
…in Tutorial/Scenes directory (create it) as Level Select Scene.

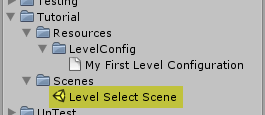
Now your Project should look like this:
Configuring Levels
Make sure to have My First Level Configuration selected and look at the Inspector.
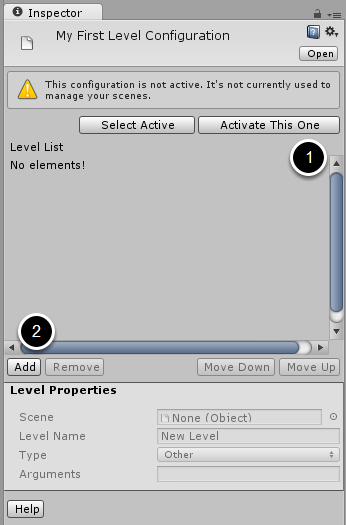
On the top you can see that this newly created configuration is not currently active. This means that it won’t be used to manage your level work flow at the current state. Let’s make it active by clicking Activate This One (1).
Then let’s add our first level by clicking on the Add button. The new level will appear:
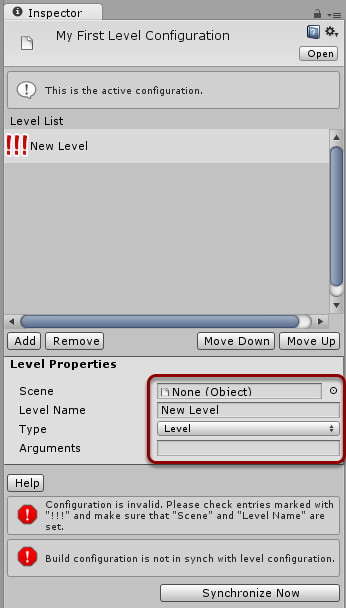
See three exclamation marks next to New Level on the list? This means that this level configuration is invalid and your attention is needed. It it normal thing because we’ve just crated this level.
What we need to configure for the first level are these fields:
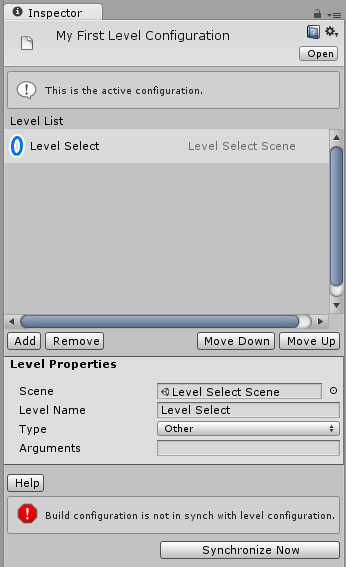
- Scene – here you should place your Level Select Scene that we’ve created earlier.
- Level Name – name your level “Level Select”, so you can easily refer to it later.
- Type – set the type of your level. All levels that are not actual game levels should be set to Other.
- Arguments – if you need to pass arguments to your level, here you can do it. We will leave this one empty.
Your configuration should now look like this:
Noticed that some of the errors are gone? Don’t worry about this last synchronization error. This means that something in the level configuration have changed and the synchronization procedure is necessary to everything work as expected. Unless we won’t finish our configuration we don’t need to synchronize it, because it will simply pop-up again.
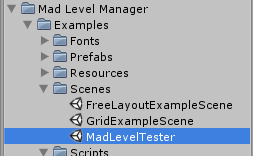
Now we will create two level games. As scene we will use MadLevelTester that is placed in Mad Level Manager/Examples/Scenes. This scene imitates game level and allows to proceed to the next one and level select screen.
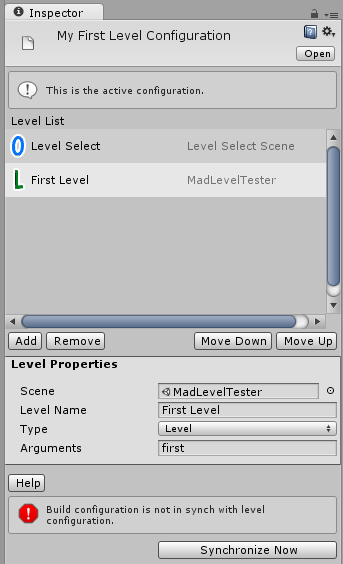
Create second level just like you’ve just crated first one by pressing the Add button, and then set values to:
- Scene – MadLevelTester
- Level Name – First Level
- Type – Level
- Arguments – first
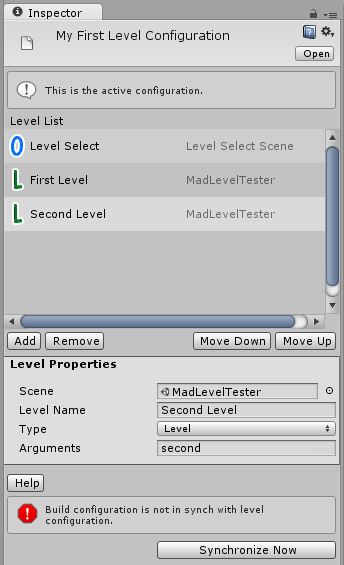
In similar matter create third level that will be the second playable level with values:
- Scene – MadLevelTester
- Level Name – Second Level
- Type – Level
- Arguments – second
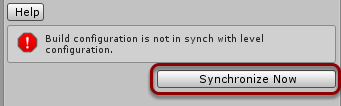
Now when you’re done with configuring levels it’s time to synchronize our build configuration. Click the Synchronize Now button:
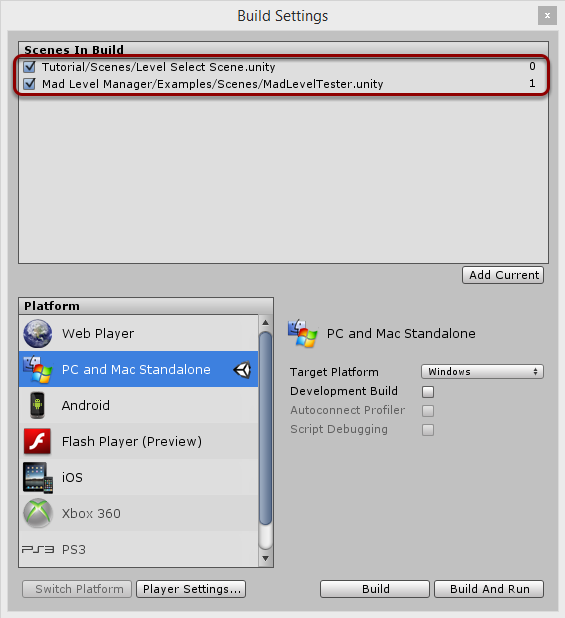
You can take a peek what synchronization did to your build configuration (File → Build Settings or Ctrl + Shift + B). Level Select Scene will be launched first, and MadLevelTester is places as second scene in the build.
Configuring Level Select Screen
Be sure to have our Level Select Scene open. We need to make it completely clean, so locate the Main Camera in the Hierarchy…
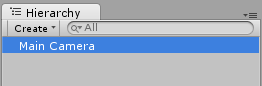
…and delete it.
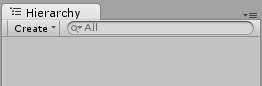
Next from the main menu select Tool → Mad Level Manager → Initialize.
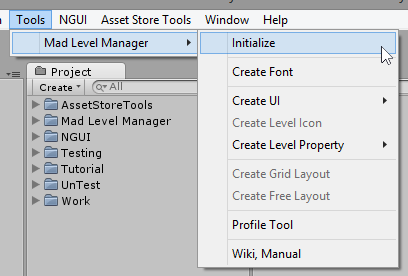
The Init Tool will open:
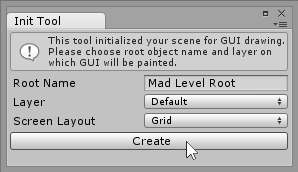
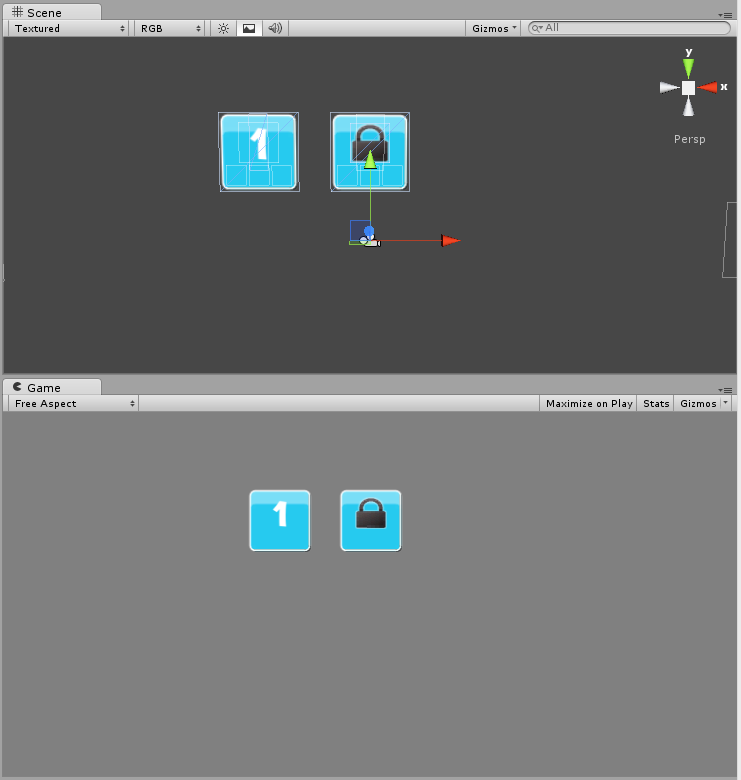
Here you can setup a few things here, but don’t change anything, since we want create the Grid layout. Click on the Create button to proceed, and your grid should appear on the screen:
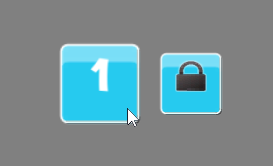
And that’s it! Now we can test if everything is working as expected! Hit the Play button:

Then select first level in your Game view.
The First Level with argument first will be loaded.
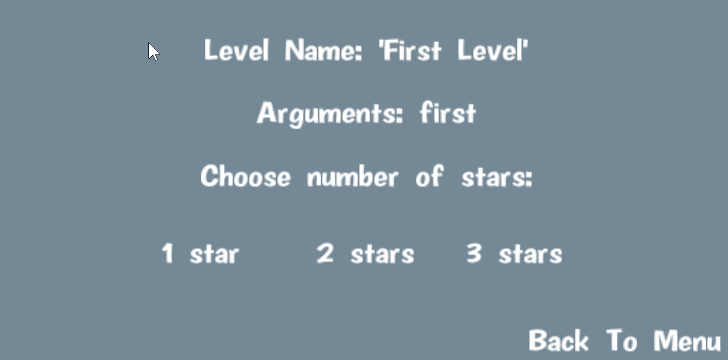
Now you can try to assign stars, go back to the level select screen, and play with Profile Tool.
This concludes this tutorial. Be aware that what you’ve learned here is a small portion of what you can do with Mad Level Manager. Please look at the other documentation pages to discover how to customize look of your level select screen, and how Mad Level Manager can help you manage your levels and game saves!