Here you can learn how to create background for your level select screens.
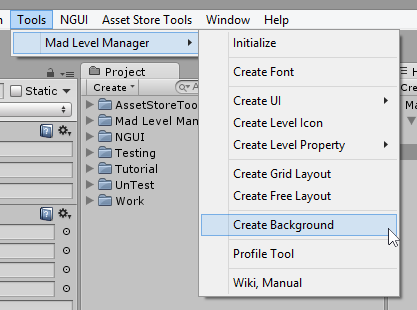
First be sure that you have your scene initialized with Grid or Free layout. Then select from the main menu Tools → Mad Level Manager → Create Background item.
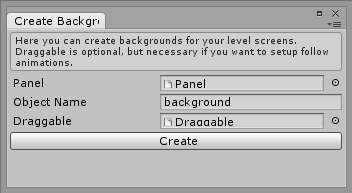
A new window will open when you can setup on which Panel your background will be created and which Draggable object will be used to monitor drag actions. Usually you won’t need to change here anything. In most cases you will have only one Panel and one Draggable. If these fields won’t be willed automatically, please make sure that your scene is initialized as mentioned above.
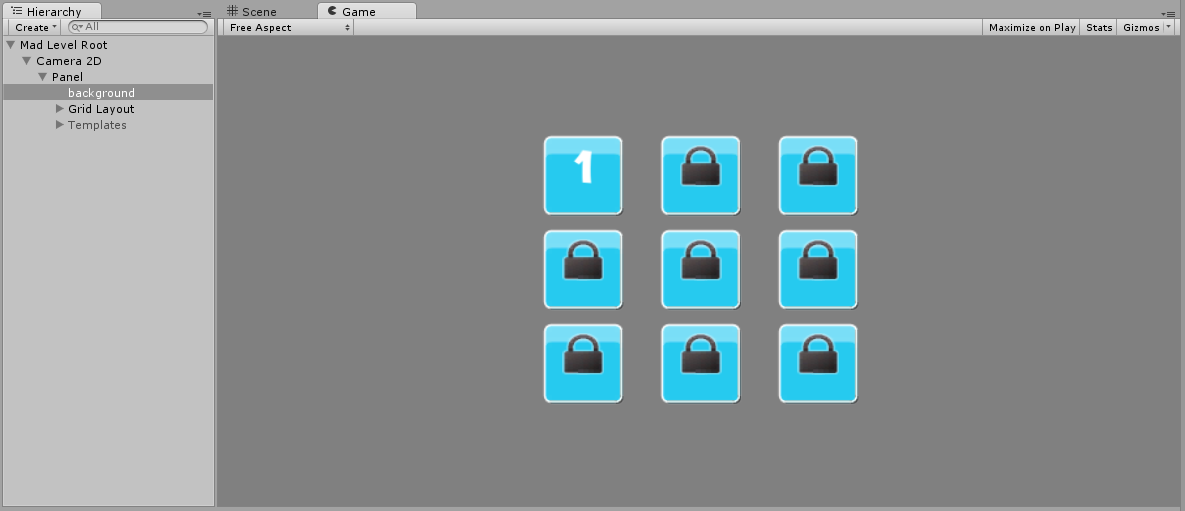
After creating background object nothing should change, but you should see new background object in the Hierarchy. Make sure that it is selected, then look at the Inspector.
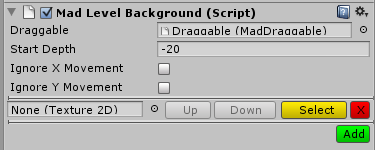
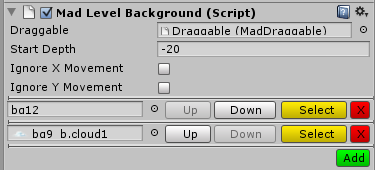
Inside Inspector you will see some fields and an Add button. Let’s slow down a little and think about what we can do here.
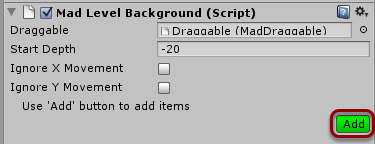
- Draggable – connection to Draggable object in your hierarchy. Must be set to react on dragging.
- Start Depth – Background layers like other object have depth. Start depth means that the first layer will be of this depth (-20 by default), and each next layers will have set last layer depth + 1.
- Ignore X/Y Movement – Ignores dragging movement in specified axis.
Add button is used for adding layers. Let’s use it right now.
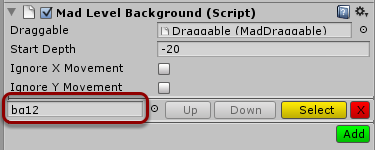
New field and buttons appeared:
- Field to the left is where you can place your background texture.
- Up button moves this layer one step up/back.
- Down button moves this layer one step down/forward.
- Select is shortcut to select & edit this layer properties.
- X button removes this layer.
Let’s now add background layer. I will use bg12.png texture from Mad Level Manager/Themes/Theme2/Textures/background directory.
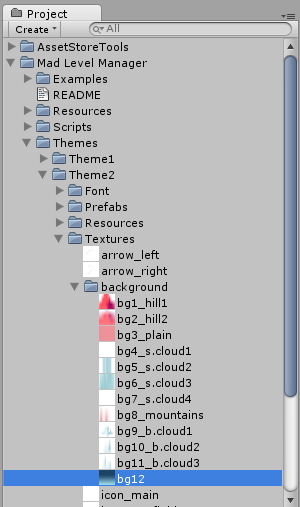
Simply just drag & drop mentioned texture into the texture field:
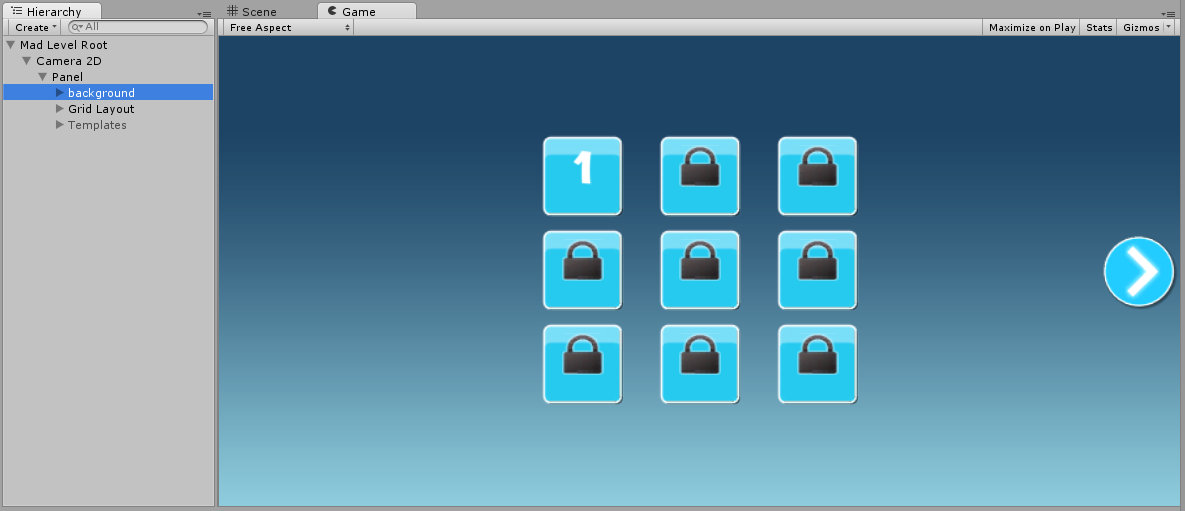
Now your scene should display nice blue texture at the background. If you take a good look at the bg12.png texture you will notice that it is only 2 pixels wide and 1024 pixels tall. Background script did the repeat for you.
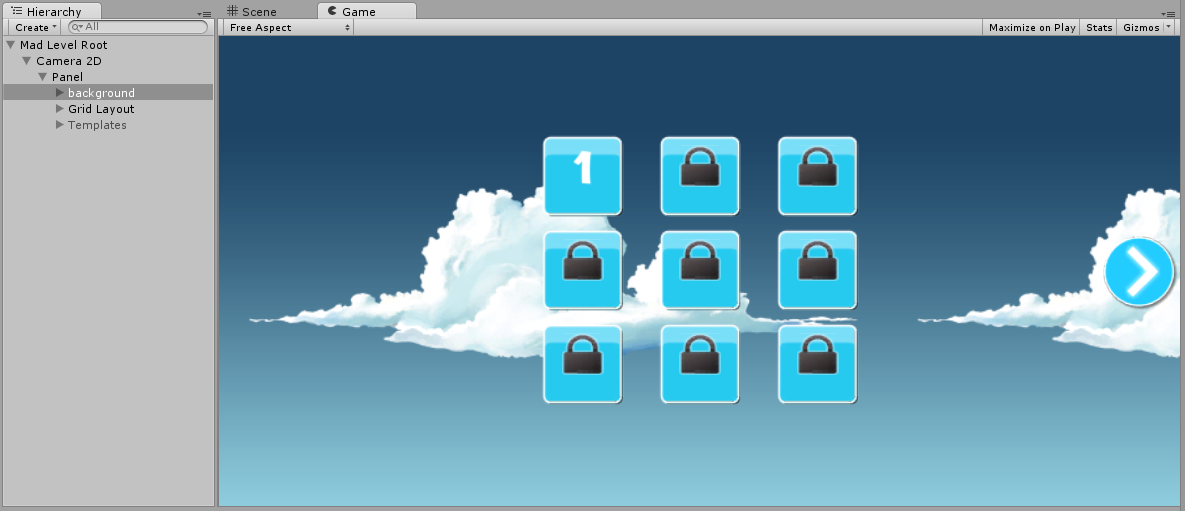
Now let’s add clouds as second texture. bg9_b.cloud1.png file can be found in the same directory as before. Add it as a second layer below:
Effect on your Game View should be immediate:
Now if you want you can hit the Play button to see how your background behaves while you will be dragging your screen from right to left. By default it will follow your foreground 1:1, and that’s a little unnatural for background with clouds. Let’s tune it up a little. You can Select your clouds layer by clicking on Select button next to it:
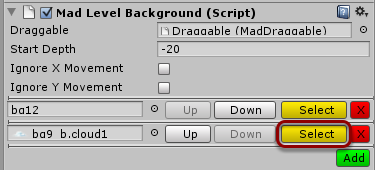
Or by selecting corresponding GameObject in your Hierarchy. Make sure to select it now.
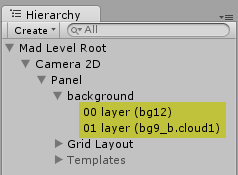
Look at the Inspector. Now it describes layer properties.
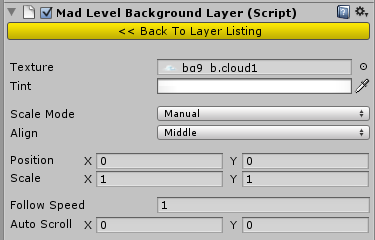
- Texture – the same field as before, you can set your texture here.
- Tint – You can colorize or set transparent level to your layer.
- Scale Mode – Can be:
- Manual – Gives you full control over how to scale this layer.
- Fill – Fills the screen with this layer. Good for sky or horizon layers.
- Align – Set None, Top, Middle, Bottom to set how your layer should be aligned. Try to resize your game view to see how your layer will behave with different settings.
- Position – Position offset of your layer.
- Scale – Scale of your layer.
- Follow Speed – Ratio of how fast this layer should follow player dragging.
- Auto Scroll – Scrolling done without user interaction. Good for water waves, clouds or birds.
Now if you know (more or less) how these fields works let’s configure two of these to make our clouds behave like real clouds.
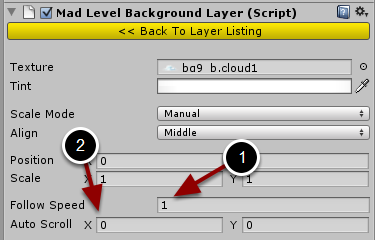
To do so we will decrease Follow Speed to 0.2 and set Auto Scroll X to 1:

And that’s it! Now hit the Play button and see the result!
Resources
- See web player demo of finished scene.
- Download unitypackage with example scene.