While using Mad Level Manager you can find several icon templates that can be used in your game, but most probably at the end you would like to create your own customized icon template. Here you can learn how to do it.
For presentation purposes I will use example textures that are provided with Mad Level Manager package.
Basic setup
- The best approach to create a new icon is to do it on completely new scene. Create a new scene (CTRL + N) and remove the Main Camera from it.
- Execute from the main menu Tools → Mad Level Manager → Init Tool. You will see:
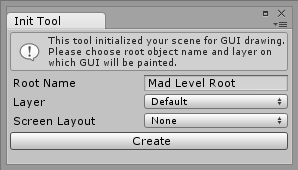
- Make sure that Screen Layout is set to None and press the Create button. Scene will be initialized with Mad Level Root object.
- Execute from the main menu Tools → Mad Level Manager → Create Level Icon . The Create Icon wizard will appear:
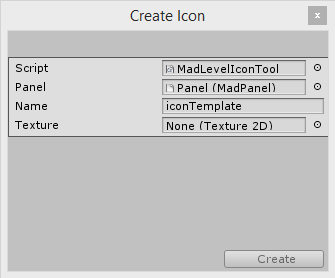
- Select the texture icon to icon.png. It can be found in Mad Level Manager/Examples/Textures/Example1/icon.png .
- Submit by pressing the Create button.
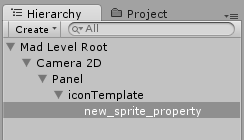
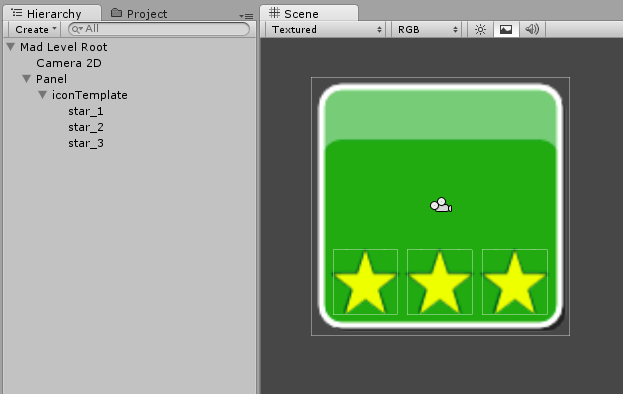
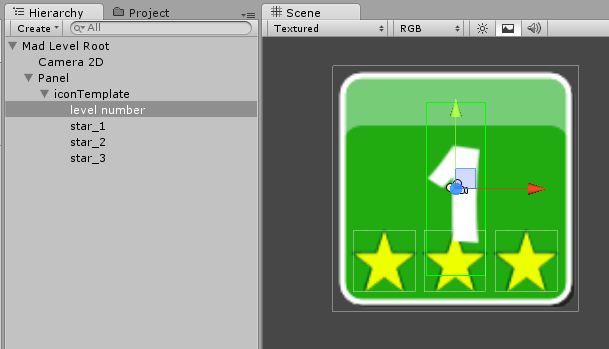
Now you should see the iconTemplate object created under the Panel. It should look something like this:

Properties
Properties are one of the most important things of level icons. They are (in most cases) sprites whose visibility is based on a current game state (like number of collected stars). Properties can be as follow:
- Star icons that are visible when player gained some meaningful score.
- Lock icon that is visible when the level is locked
- Level number label that displays level number (in order)
Properties are persistent and can be set using Save & Load API
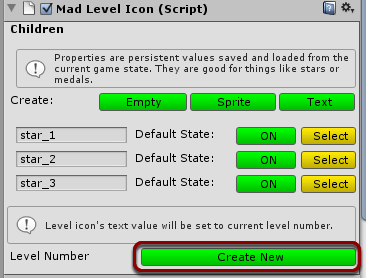
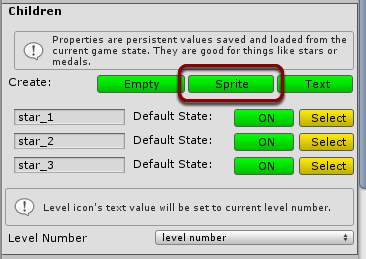
Select your iconTemplate object to see what types of properties you can create:
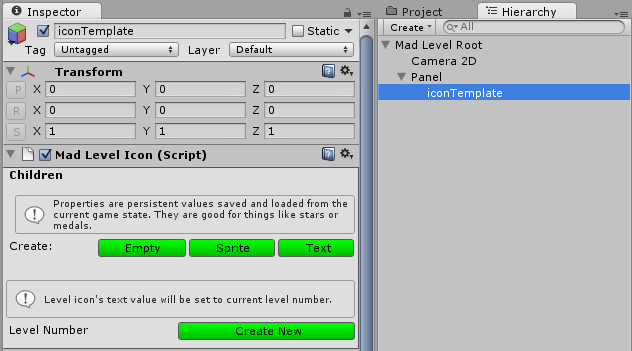
These are:
- Empty – this is just a game object that is enabled/disabled based on current property state.
- Sprite – displaying a texture when enabled
- Text – visible when enabled, can display other property value or level number
Non-property values
When you choose to create Empty, Sprite, or Text you will be asked if you want to create it as property:
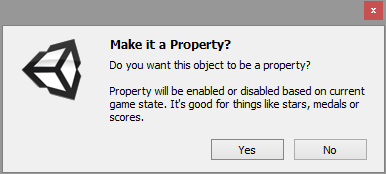
The difference between property and non-property elements is that the first one will be enabled and disabled based on a current game state. If you only want a sprite or text element that shouldn’t be hidden from your icon, make it non-property value.
Creating stars
Now we will create stars for our icons. In order to create a star property, just click on the Create: Sprite button in the icon inspector. If you are asked whether you want to make it a property, select Yes. New sprite property will be created and selected:
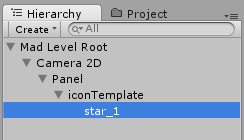
Rename it to star_1:
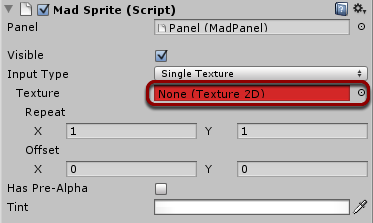
Now look in the inspector and find place where you can set up the texture:
And set it to icon_star.png that can be found in Mad Level Manager/Examples/Textures/Example1/icon_star.png.
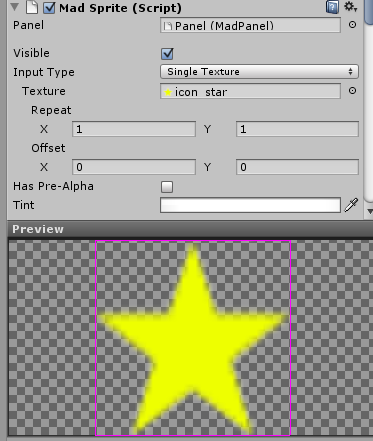
Look at the scene view. You should finally see your first property:
Move it to the right place:
Now create two remaining star properties. You can do it the same way, or just duplicate (CTRL+D) the first star and name them star_2 and star_3. The result should look like this:
Level number property
Now let’s create level number property to distinguish one level from another on the final screen. Please select your iconTemplate object and in the inspector click on the Level Number: Create New button:
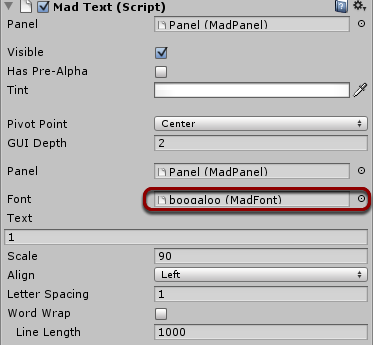
A new property will be created as before, but this time it’s called level number and actually you will see a “1” on the top of your icon.
What you may want to change in the future is the font used. Do not change the Text field, because it will be updated automatically.
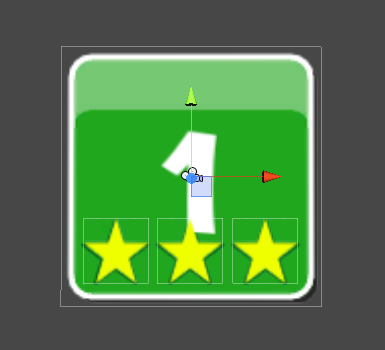
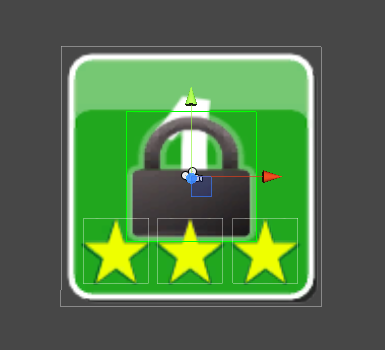
Now adjust your level number position from this:
Your scene view now should look like this:
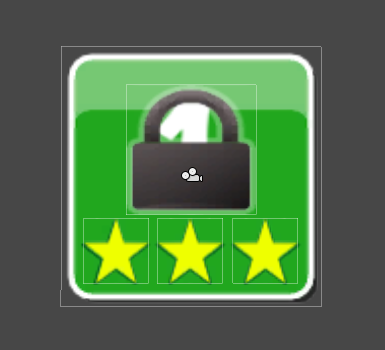
To this:
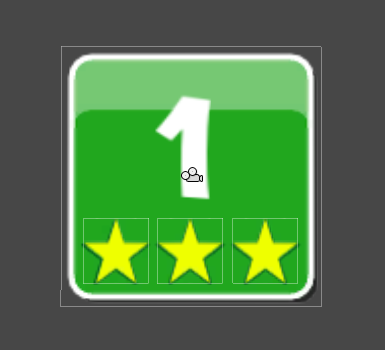
And you’re done!
Locked sprite
One last thing to set is the locked sprite. You may want to lock your levels and unlock them on player progress. Let’s set it up now!
Create another sprite just like you did with the star icon using Create: Sprite in iconTemplate inspector. If you are asked whether you want to create a property, select No:
Name it locked and set the Texture to lock.png that can be found in in Mad Level Manager/Examples/Textures/Example1.
Adjust its position and you’re done here!
Connecting logic
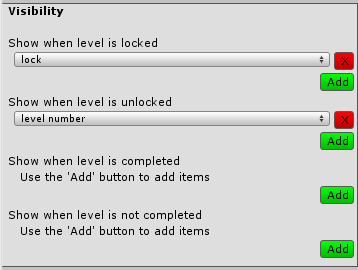
How does Mad Level Manager know when to hide lock icon and when to display level number? It all can be set in Visibility section of your iconTemplate inspector:
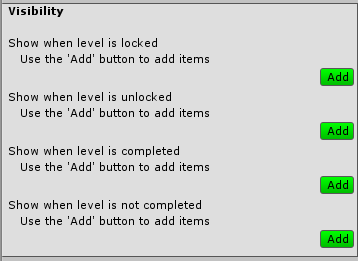
In here you’re able to add any number of child elements that should be:
- Show when level is locked (hide otherwise)
- Show when level is unlocked (hide otherwise)
- Show when level is completed (hide otherwise)
- Show when level is not completed (hide otherwise)
Haven’t you found out yet where to put our locked and level number objects? Use the Add buttons to add new items, then use the drop-down menus to choose the right sprite. If you’re not seeing the sprites mentioned, please make sure that you’ve created them correctly and they are placed under the iconTemplate in the Hierarchy.
Setting default state
How your icon should look by default? Which properties should be enabled and which shouldn’t? It’s up to you, but we want all start to be disabled (because a player doesn’t have any stars by default) and level should be locked. Let’s look at the iconTemplate inspector:
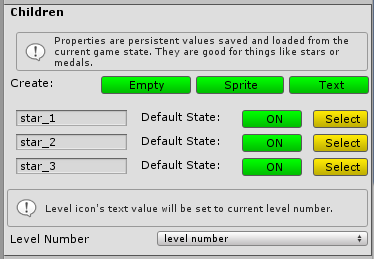
Pressing the green buttons will change the default state. Now disable all stars and the level number:
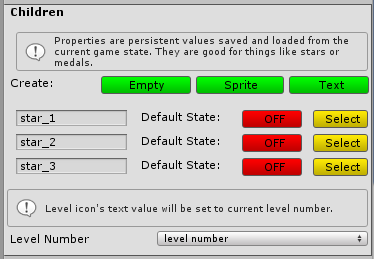
Your icon should now look like this. Don’t worry about the lock and level number displaying at once. When the icon is instanced, one or another will be hidden based on Visibility settings from before.
Testing it out
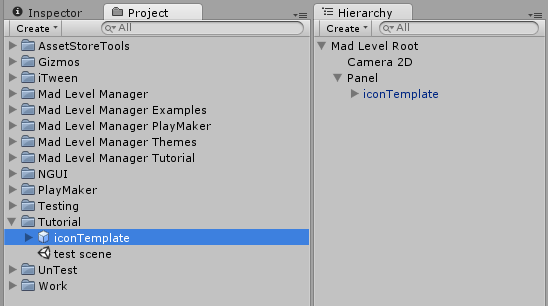
And you’re now ready to create a prefab! You can do that easily…
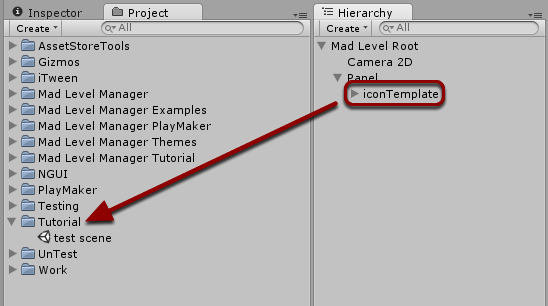
…just by moving your iconTemplate object onto any directory. The prefab will be created automatically.
Then create a completely new scene, initialize it with Grid Layout and move your icon prefab into Icon Template field.
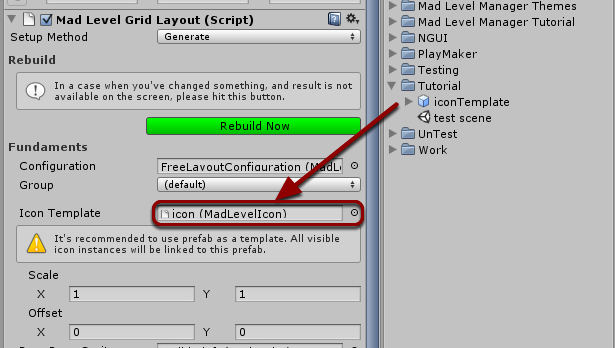
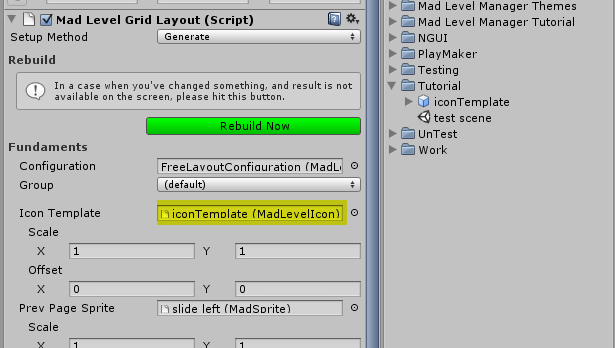
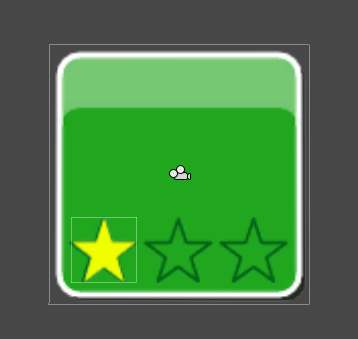
And your scene should be updated automatically.
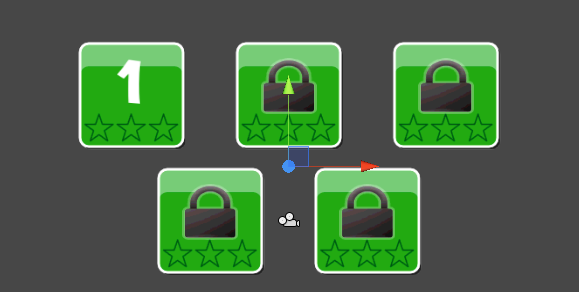
The last thing that you need to do is testing it in play mode! Save your scene, make sure that Level Configuration has your new scene set as “level select” level and have fun!
Possible issues
Icon hit boxes are too big
While working on your custom icon you may find out that icon hit box is bigger than it should be. In the result clicking on one icon may activate the one next to it.
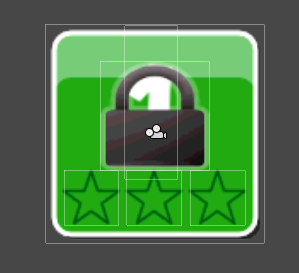
To fix this you need to adjust sprite border for your sprite. By default sprite border is set to texture size, so if you have icon background texture that looks like this…
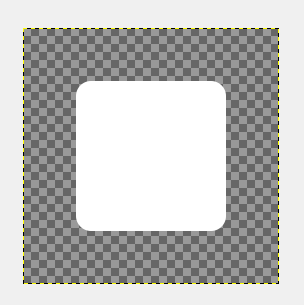
It will have its border set far away the visible image borders.
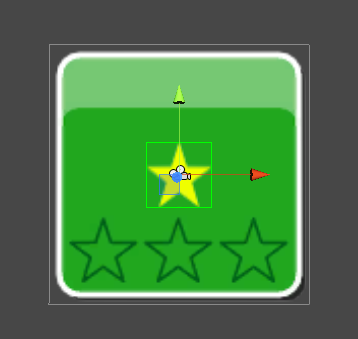
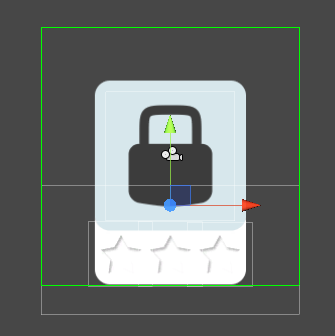
Mad Level Manager displays current sprite texture size using gray rectangles and current sprite border as green rectangles. They will help you understand how big texture is and how its border (hit box) currently looks like.
Included file info.html not found in _includes directory
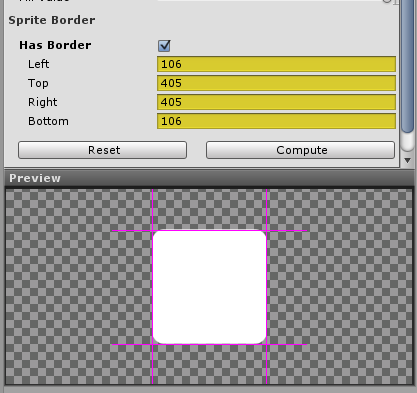
You can see that sprite border is too big and it needs an adjustment. Go to the Inspector view and under the Sprite section you will find border settings and sprite preview.
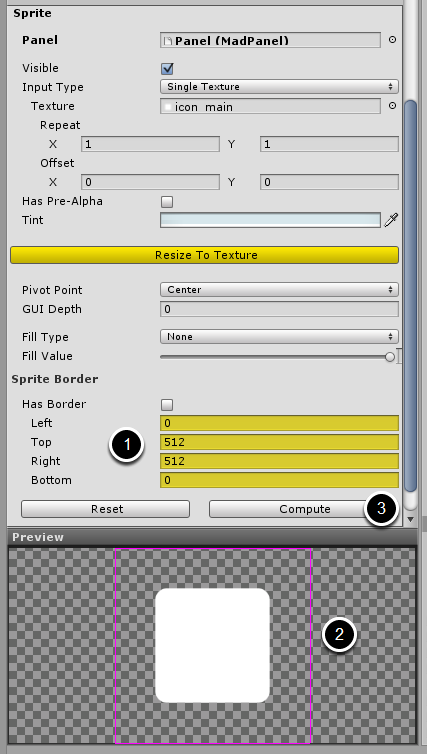
Here you will find:
- Sprite Border section when you can preview and adjust sprite bounds.
- Preview window with currently set bounds (pink lines)
- Buttons for reseting and computing sprite bounds
Usually the easiest way to setup sprite bounds would be by using the Compute button. If the result is not satisfying, you can also try to adjust it manually.
When the bounds are set, you should no longer encounter any problem with your icons hit boxes!