What you need to know
Here’s the list of things you need to know before reading further:
Here we will focus on how and why you can configure your levels in detail.
Why do I need to do that?
It’s a necessary step if you want to create level select screen in the first place. This configuration defines level order and associated scenes. If you want to use Mad Level Manager only to create level selectors, this is when you may stop your reading yet level configurations are something more. They give you an ability to define workflow which may be different depending on what version of your game you are releasing.
For instance let’s imagine that you have right to release new version of Angry Birds and it’s going to be paid. Also you want to release a demo version with only 5 playable levels. To do so, you will create two level configurations. The first one will contain all available game levels. The second one will have only 5 levels and after the fifth one “buy now” screen will appear. Have you known what? You don’t need to do any changes in your code when building the first and the second version! All you need to do is to switch between active level configurations just before building your game!
Sounds interesting? And it’s easy to achieve too! Just learn how level configuration works and learn to use MadLevel API.
Change of abstraction level
Firstly, you need to know that Mad Level Manager changes definitions of what the level is. Unity3D documentation defines levels and scenes more or less as one and the same. The function that loads a scene is named Application.LoadLevel(). Mad Level Manager defines levels as an abstract entity – one scene may represent many levels. One scene may load different data file to decide how it should be initialized, so it will become a different level.
Level types
You can choose from 3 types for each level in your configuration. These are:
- Level – This is a regular playable game level. It will be displayed in level select screen.
- Extra – This is a playable game level, but it won’t be displayed in level select screen. You can treat it as a hidden level.
- Other – This is all other scenes that are not really playable. This will be your title screen, options screen, level select screen, scores screen, etc. Obviously, it won’t be displayed in level select screen.
Defining level types is important not only because of level select screen. If you take good look at MadLevel API, you can note that you can jump between levels based on their type. This gives you an easy method of creating great, flexible workflows, and your designers don’t even need to know how it works!
Using arguments

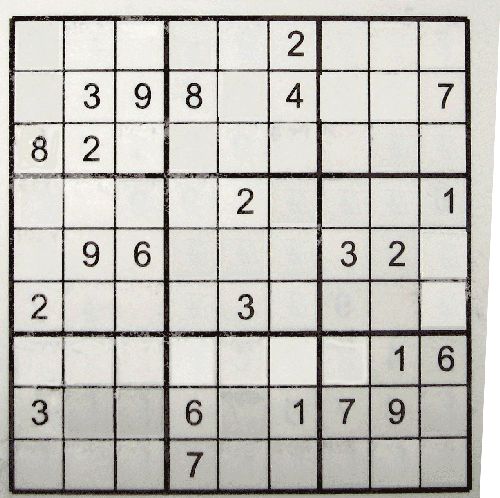
Level argument line is something what can transform one scene into many levels. Imagine Sudoku game where all levels look the same, except numbers on the grid which are different. It will be wise to use only one scene for all your levels, and just pass data file name in an argument line. Only one scene means that if you decide to change something in how your levels looks like, you can do this on just one scene because you don’t need to have more than one of them.
Argument levels are accessible using MadLevel API through field MadLevel.arguments.
Credits
- Sudoku Photo Some rights reserved by Random McRandomhead
